
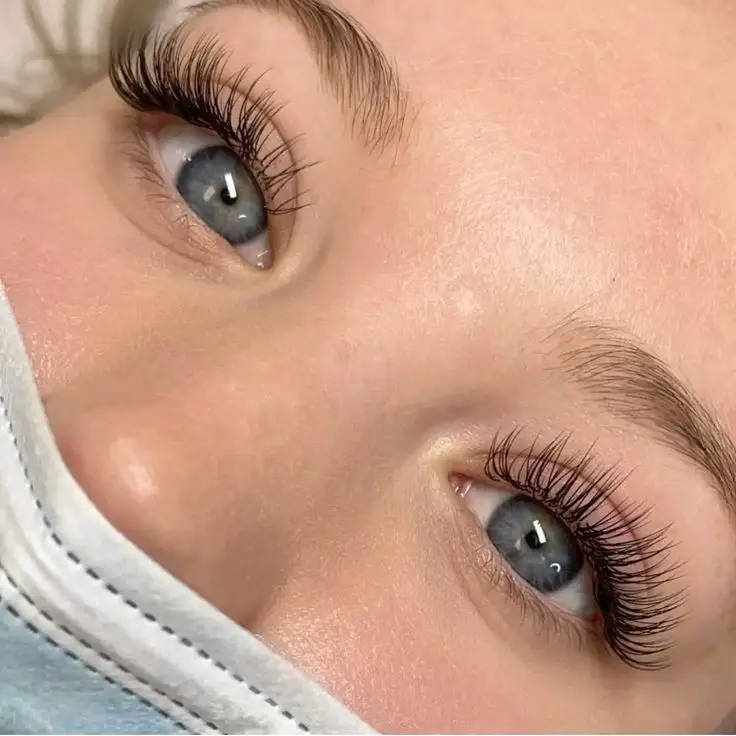
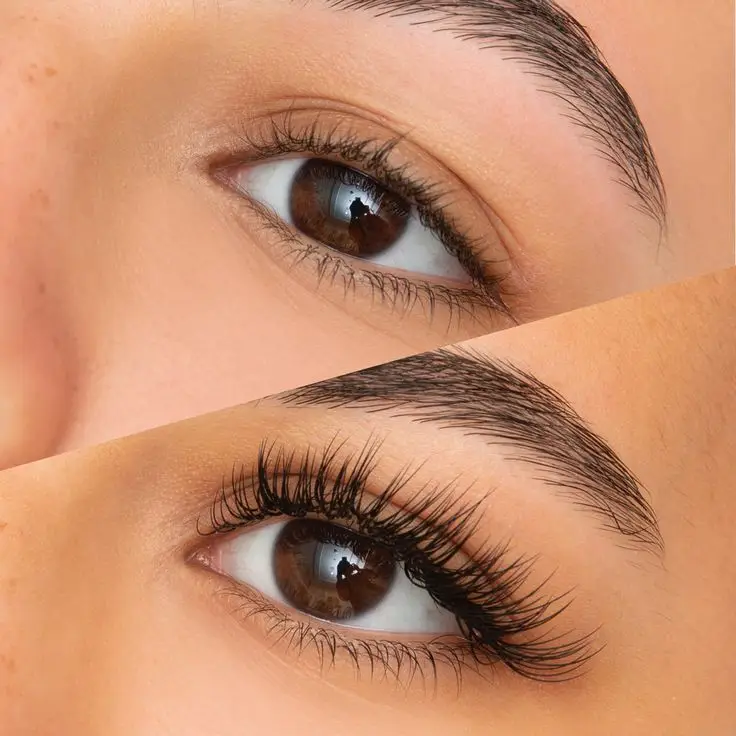
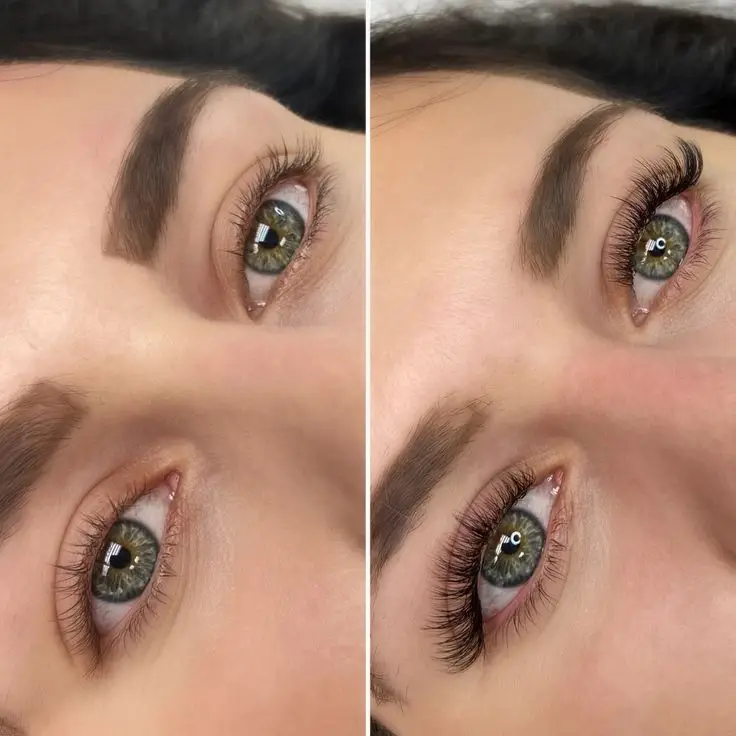
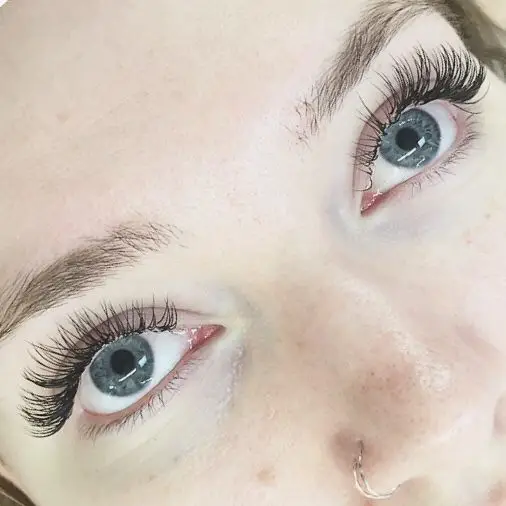
Welcome to the definitive guide on mastering the art of applying eyelash extensions. At Factacholic, we understand the significance of achieving flawlessly extended lashes. This comprehensive guide is designed to empower you with the knowledge and skills needed for a professional-level application, surpassing the competition.
What are the types of eyelash extensions?
Eyelash extensions come in various types, each designed to enhance and complement different eye shapes, styles, and occasions. Here’s a breakdown of common types and the occasions they are best suited for:
Classic Eyelash Extensions:
Type: Classic extensions involve attaching one extension to one natural lash.
Occasion: Ideal for everyday wear, they offer a natural and subtle enhancement. Perfect for those who want to add length and definition without an overly dramatic look.
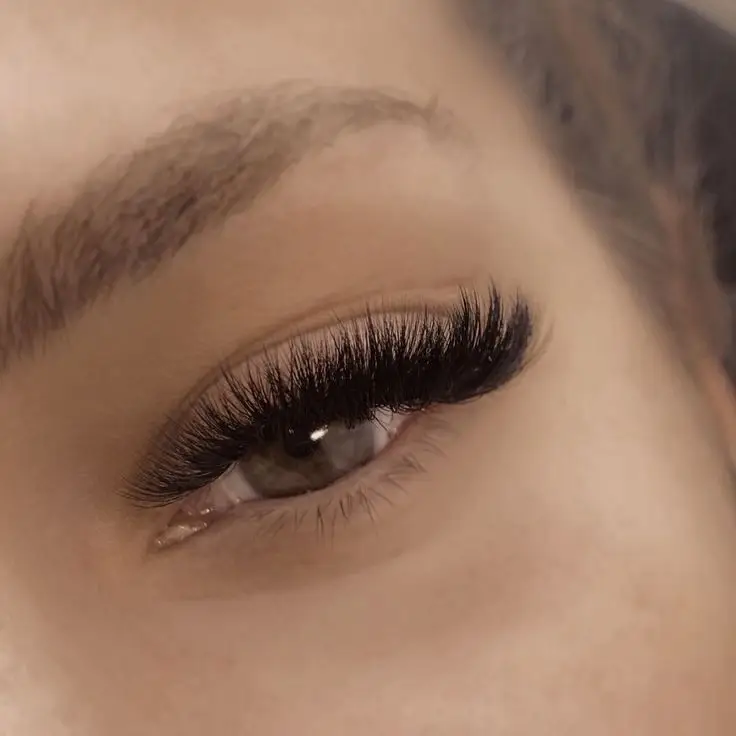
Volume Eyelash Extensions:
Type: Volume extensions involve attaching multiple finer extensions to one natural lash.
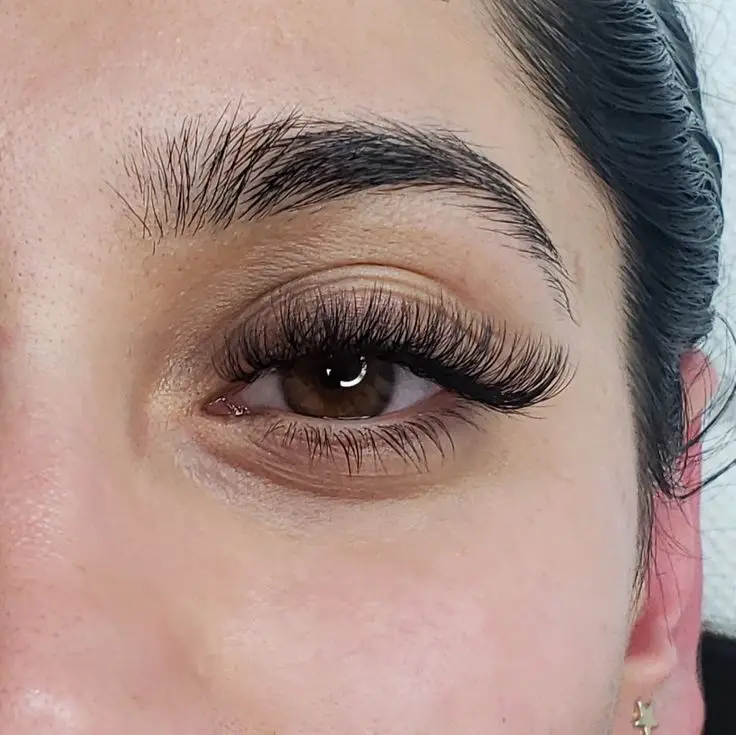
Occasion: Suited for special occasions, events, or when a more glamorous look is desired. Volume lashes create a fuller and more voluminous appearance, making them perfect for parties, weddings, and photoshoots.
Hybrid Eyelash Extensions:
Type: A blend of classic and volume extensions, combining single extensions with lighter, finer extensions in a fan-like pattern.
Occasion: Versatile and suitable for various occasions. Hybrid lashes offer a balance between natural and dramatic, making them great for both everyday wear and special events.
Cat Eye or Kim K Lashes:
Type: Longer extensions are applied to the outer corners of the eyes, creating a cat-eye effect.
Occasion: Ideal for those seeking a lifted and elongated eye shape. Perfect for parties, date nights, or any event where a bold and sultry look is desired.
Doll Eye Lashes:
Type: Longer extensions are applied to the center of the lash line, creating an open-eyed, doll-like appearance.
Occasion: Suited for individuals with downturned or close-set eyes. Ideal for casual outings and social events, as they provide an innocent and wide-eyed look.
Colored Eyelash Extensions:
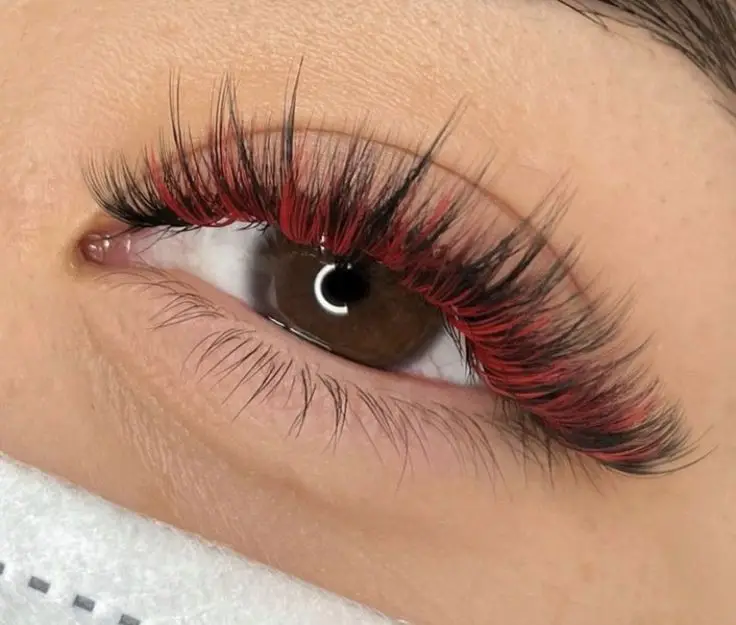
Type: Extensions are available in various colors, allowing for creative and personalized looks.
Occasion: Perfect for themed parties, festivals, or when you want to add a pop of color to your lashes without committing to traditional mascara.
Natural Lash Lifts:
Type: A treatment that enhances the natural lashes without using extensions, providing a lifted and curled effect.
Occasion: Suitable for individuals who prefer a low-maintenance, natural look. Ideal for everyday wear and outdoor activities.
Mega Volume Eyelash Extensions:
Type: Involves attaching an even higher number of ultra-fine extensions to each natural lash.
Occasion: Reserved for those who want an incredibly bold and dramatic look. Suitable for stage performances, runway shows, or avant-garde photo shoots.
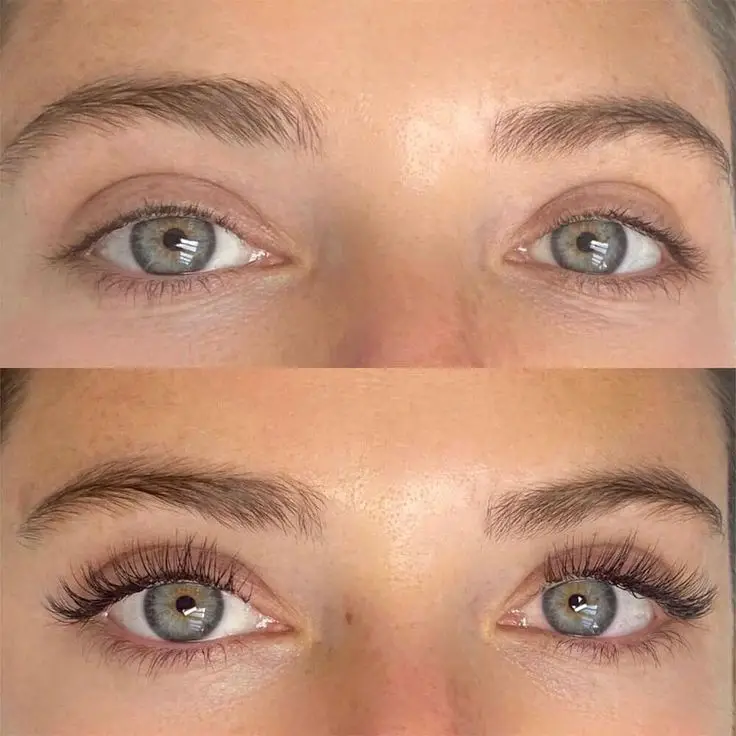
Remember, the choice of eyelash extensions depends on personal style preferences, eye shape, and the occasion. It’s always recommended to consult with a professional lash artist to determine the most suitable option for your desired look.
Apply Eyelash Extensions in 8 Simple Steps
Step 1: Gather Your Tools
To embark on this transformative journey, ensure you have the following tools:
Eyelash extensions: Select from a variety of lengths and curls to cater to different client preferences. Ensure they are made of high-quality synthetic material for durability and a natural look.
Adhesive: Opt for a hypoallergenic, latex-free adhesive for a secure yet gentle bond. Check for a quick-drying formula to streamline the application process.
Tweezers: Invest in fine-tip tweezers with a comfortable grip for precision and control. Having multiple pairs with varying angles can assist in handling different lashes.
Eye pads: Use lint-free eye pads to protect the lower lashes and delicate skin during the application process. Look for pads with a soothing gel to enhance the client’s comfort.
Microfiber brushes: Ideal for applying adhesive without clumping. Choose brushes with fine tips for precise application, ensuring the extensions adhere evenly.
Lint-free applicators: These are essential for sealing the adhesive and ensuring a comfortable finish. Select those with a tapered end for detailed work.
Step 2: Prep Your Workspace
Create a dedicated workspace with proper lighting and ventilation. A clean environment reduces the risk of contamination and promotes accuracy during application. Arrange your tools systematically for easy access and efficiency.
Ensure your workspace includes:
A clean, flat surface: Opt for a smooth, non-porous surface that can be easily sanitized.
A comfortable chair for the client: Consider investing in an adjustable, ergonomic chair to ensure the client’s comfort throughout the procedure.
Ample lighting: Choose bright, natural light or a high-quality lamp to illuminate the workspace adequately.
Step 3: Cleanse and Prime
Initiate the process by cleansing the natural lashes with a mild, oil-free cleanser. This crucial step removes any residue that could affect adhesion. Follow up with a primer to prepare the lashes, enhancing the longevity of the extensions.
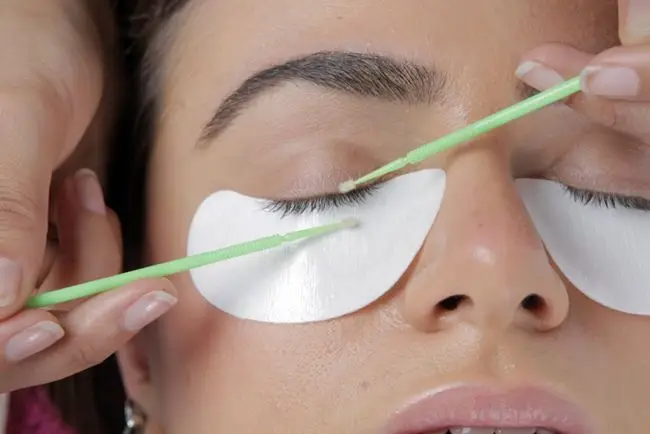
Cleansing technique: Use gentle, downward strokes with a cleansing brush or lint-free pad to remove any makeup or oils from the lashes.
Primer application: Apply a small amount of primer to a microfiber brush and coat each natural lash evenly. This not only cleanses but also creates an optimal surface for adhesive application.
Step 4: Isolate Natural Lashes
Employ the precision of your tweezers to isolate a single natural lash. Take your time to ensure accuracy, as this sets the foundation for a seamless and natural-looking application.
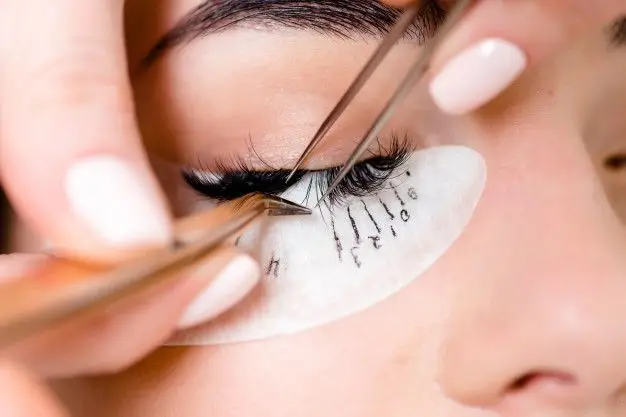
Technique for isolation: Hold the tweezers at a slight angle to avoid pinching the skin. Isolate each lash, ensuring they are separated and easily accessible for extension application.
Step 5: Apply Adhesive
Dip the microfiber brush into the adhesive, ensuring a thin and even coating on the extension. Apply the extension to the isolated natural lash, holding it in place for a few seconds to allow the adhesive to set.
Adhesive amount: Use a minimal amount of adhesive to prevent clumping. Ensure the extension is coated evenly for a secure bond.
Application angle: Place the extension at a slight angle to mimic the natural curve of the lash, creating a seamless blend.
Step 6: Repeat the Process
Continue the meticulous process, isolating each natural lash and applying extensions with uniform length and spacing. This attention to detail ensures a balanced and aesthetically pleasing result.
Consistency in length and spacing: Regularly check the length and spacing of the extensions to maintain a cohesive and natural appearance.
Step 7: Seal the Deal
Once all extensions are in place, use a lint-free applicator to delicately seal the adhesive. This final touch guarantees a secure bond, preventing any discomfort for the wearer and enhancing the extensions’ durability.
Sealing technique: Gently press the applicator along the lash line to ensure the adhesive is fully sealed. This step contributes to the longevity of the extensions.
Step 8: Final Touches
Conduct a thorough examination of your work. Make any necessary adjustments to ensure uniformity and symmetry. Trim any excess length for a polished finish. Advise your client to avoid water and steam for the next 24 hours to allow the adhesive to set completely.
Client consultation: Discuss the desired length, curl, and overall look with the client before starting. Adjust the application based on their preferences and natural lash condition.
Trimming technique: Use fine-tip scissors to trim any extensions that may be longer than the natural lashes. This ensures a neat and polished result.
Eyelash Extension Aftercare Instructions
Congratulations on your stunning new eyelash extensions! To maintain their beauty and ensure their longevity, follow these essential aftercare instructions:
Avoid Water and Steam for the First 24 Hours
Resist the temptation to expose your lashes to water or steam for at least 24 hours after the application. This crucial time allows the adhesive to be fully set, ensuring a secure and long-lasting bond between the extensions and your natural lashes.
Gentle Cleansing is the Key
When cleaning your face, be gentle around the eye area. Use an oil-free and lash extension-safe cleanser. Apply the cleanser with a lint-free applicator or a soft makeup brush, moving in a downward motion along the lashes. Avoid rubbing or pulling on the extensions.
Brush Regularly with a Clean Spoolie
Keep a clean spoolie on your hand to brush through your lashes daily. This helps prevent tangling and keeps your lashes looking neat and well-groomed. Start from the base and gently comb through to the tips.
Be Mindful of Products
Choose oil-free makeup and skincare products to avoid breaking down the adhesive. If you wear mascara, opt for a water-based and extension-friendly formula. Avoid using waterproof mascara, as its removal can be harsh on the extensions.
Sleep on Your Back
During the initial 24 hours and beyond, try to sleep on your back to prevent friction and crushing of the lashes. If you’re a side sleeper, consider using a silk or satin pillowcase, as these materials create less friction than cotton.
Avoid Touching or Rubbing Your Eyes
Resist the urge to touch or rub your eyes excessively. Frequent touching can transfer oils from your fingers to the lashes, potentially weakening the adhesive bond.
Attend Regular Refill Appointments
To keep your lashes looking consistently beautiful, schedule regular refill appointments every 2-3 weeks. This ensures that any outgrown or shed lashes are replaced, maintaining the fullness and symmetry of your lash extensions.
Protect Lashes During Activities
If you’re engaging in activities such as swimming or exercising, consider using protective eyewear to shield your eyelash extension from excessive moisture and sweat. Be cautious during activities where there’s a risk of debris or impact to the eye area.
Be Communicative with Your Lash Artist
If you experience any discomfort, or irritation, or notice significant lash loss, communicate with your lash artist promptly. They can assess the situation and provide guidance on the best course of action.
Resist the Urge to Remove Extensions Yourself
If you have a damaged or out-of-place extension, resist the temptation to remove it yourself. Contact your lash artist for professional removal to prevent damage to your natural lashes.
By following these aftercare instructions diligently, you’ll extend the life of your eyelash extensions and enjoy their beauty to the fullest. If you have any questions or concerns about eyelash extensions, don’t hesitate to reach out to your lash artist for personalized guidance.
Final Thoughts
Congratulations, you’ve successfully navigated the intricate process of applying eyelash extensions. With this step-by-step guide from Factacholic you’re well-equipped to achieve professional-level results from the comfort of your own space. Revel in the confidence that comes with stunning lashes, showcasing your newfound eyelash extensions expertise.